Create simple GWT project with Eclipse
Google Web Toolkit is one of popular web UI development frameworks and I’ve decided to dig into it. There is different ways of creating GWT project: command line tools or even manually creating every bit of it, but I prefer to use IDE for my development work. Even I don’t see Eclipse as IDE, but it’s better than command line tools. But even when Google officially support Eclipse as it’s primer tool for Android and GWT development, GWT plugin doesn’t provide straight way of creating simple GWT project, but you have to make few steps to achieve it.
Preparation
To create GWT project with Eclipse, need to download and install Java and Eclipse and then GWT plugin for Eclipse.
- start Eclipse
- select menu Help > Eclipse Marketplace…
- in Find field type: GWT and press GO
- search for your version of Google Plugin for Eclipse and press Install button
- follow on screen instructions and install plugin
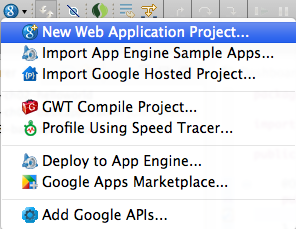
There would be added GWT button to Eclipse toolbar.

In order to create simple project we need to execute 4 steps:
- Create GWT project
- Define GWT module
- Add an entry point class
- Provide web page
Create GWT Project
Now we’re ready to create our first, I wouldn’t be original, HelloWorld GWT project.
- click on GWT button and select New Web Application Project…
- type Project name: HelloWorld
- choose Package
- select GWT SDK, default is good
- deselect Use Google App Engine, it wouldn’t be needed for this project
- ‘Add support for listing on Google Apps Marketplace’ is deselecte by default and this is ok
- deselect ‘Generate project sample code’ since it wouldn’t be needed and would only mess with our project
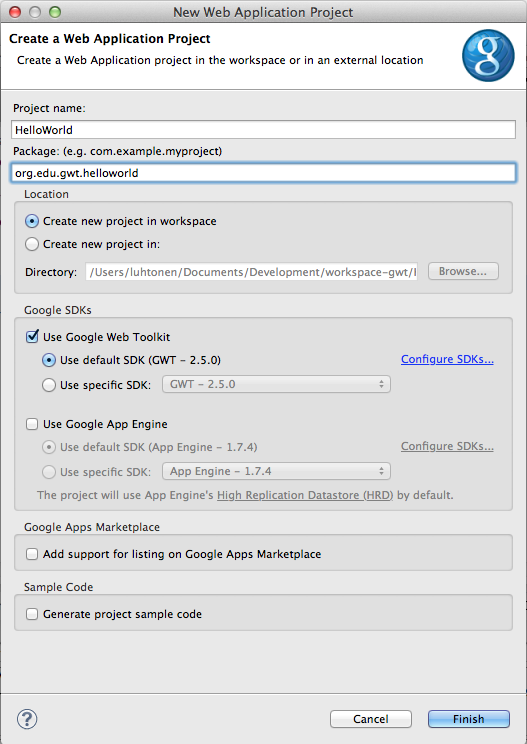
- click Finish
We would have simple empty GWT project in Project Explorer.
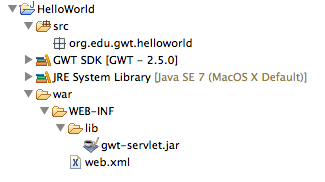
There is 2 important directories in this project:
srcwith empty base package; there would be placed module configuration file and all Java classes would be put also therewarwere would be located HTML pages
Define GWT Module
Now we need to define module for our GWT project. We can create as many modules for one project as we like, it would be useful for example for complex projects to devide functionality and responsibilities between modules and to enabling easier cooperation in bigger development teams. But for our project and generally for any simple project one module would be enough.
- select base package under src directory
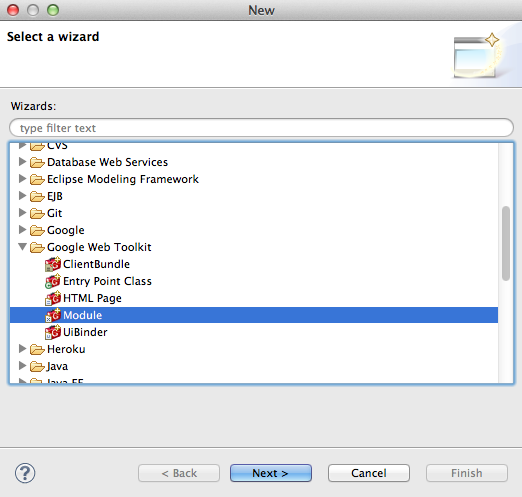
- from menu select File > New > Other and then under Google Web Toolkit select Module (or you can use mouse right click and skip File part) and click Next
- Source folder and Package should be selected automatically
- give Module name: HelloWorld and click Finish
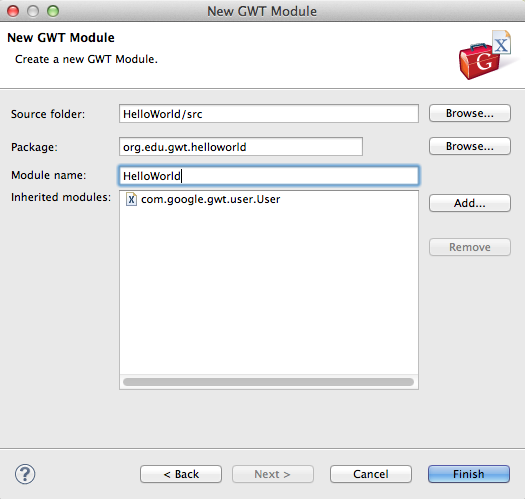
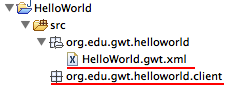
Module configuration file HelloWorld.gwt.xml and empty .client package would be added to our base package.
Add an Entry Point Class
Now we need to add entry point class to our project. We can have multiple entry points, but only one can be ‘active’ at a time. So in most cases one entry point would be enough.
- select base package under src directory
- from menu select File > New > Other and then under Google Web Toolkit select Entry Point Class and press Next
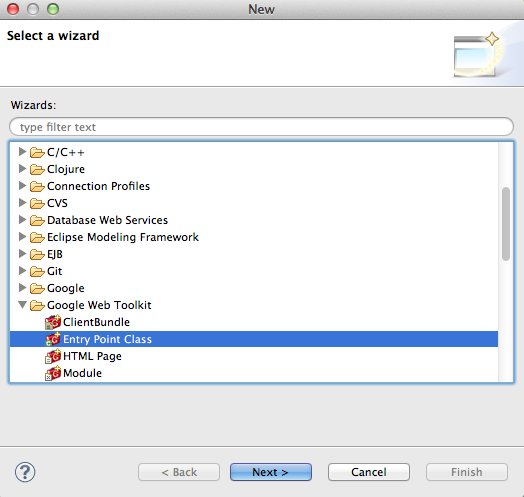
- Source folder, Module and Package would be selected automatically
- give class a Name: HelloWorld and press Finish
- add following code in new class method
onModuleLoad():
java
RootPanel.get().add(new Label("Hello, World!"));
Remember to fix imports
java
import com.google.gwt.user.client.ui.Label;
import com.google.gwt.user.client.ui.RootPanel;
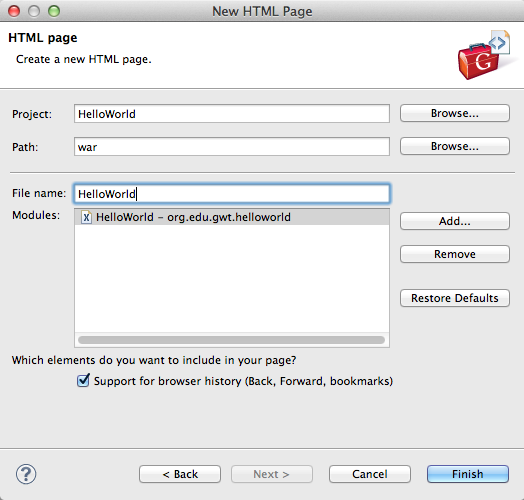
Provide the Web Page
Last thing we need is HTML page to be shown to end users.
- select war directory
- from menu select File > New > Other and then under Google Web Toolkit select HTML Page and press Next
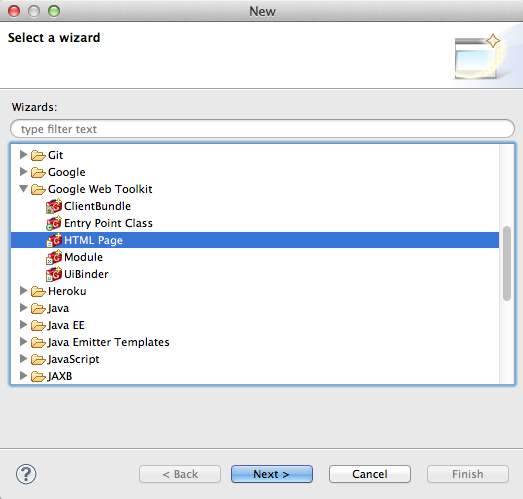
- Project and Path should be already selected
- give File name: HelloWorld and press Finish
- some plugins generate link to javascript source incorrectly, it need to be fixed to
<base package>.<module name>/<base package>.<page name>.nocache.js, for exampleorg.edu.gwt.helloworld.HelloWorld/org.edu.gwt.helloworld.HelloWorld.nocache.js
Now our project is ready.
Run Application
Now we need to test our new application.
- select project top level
- from run menu select Run As > Web Application

- copy URL and paste into browser, this may take awhile, and it would request to install browser plugin
- after awhile on page should appear text ‘Hello, World!’